Black edges on a bathroom mirror? What causes them and how to slow the spread

Image
Black spots creeping in from the edges of a bathroom mirror look like dirt at first. They are not. The dark patches are the mirror's reflective backing breaking down, and once it starts, no cleaning product will bring the silver back. What you can do is understand why it started and stop it from spreading fast. What the black edge actually is A mirror is glass with a thin layer of silver on the back, protected by paint. Where moisture, cleaning chemicals, or salty air reach that backing, the silver oxidises and turns black. Because the backing is behind the glass, the damage shows through as dark spots or a dark border you cannot wipe away from the front. People call it desilvering or mirror rot. Why bathrooms speed it up Three things attack the backing. Steam and condensation keep the mirror damp for hours, and water wicks into the edges where the backing is most exposed. Ammonia-based glass cleaners, sprayed directly on the mirror, run down and pool at the bottom edge, eatin...

Rental gallery wall planning: arrange the frames before making holes

Quick answer: A gallery wall in a small rental starts with a group of pictures you care about and a layout test. Arrange the frames on the floor first, check the grouping from your usual seat, and settle wall permission and mounting requirements before putting anything up.
Why a small wall can feel busy
A collection can be meaningful without every frame competing for attention. If you keep adding pictures to empty gaps, the grouping may become hard to read. A current tour of a 176-square-foot California studio shows a renter using a personally meaningful gallery wall as the room's focus. It is inspiration, not evidence that copying the same arrangement will make every room look larger.
Choose the story before the layout
Start with one piece you enjoy seeing. Add a few pictures with a connection: family memories, a place, a shared color, or your own work. Matching frames are optional. A clear relationship between the pieces is a useful starting point when the room already contains patterned textiles or shelves.
Make a floor plan for your pictures
Measure the real grouping. Record the outside frame dimensions, not just the print size.
Choose an anchor. Put the piece you want noticed first near the center of your arrangement.
Test spacing. Move frames until the gaps look intentional. Photograph the trial for your own reference.
Check the room view. Consider the grouping from the sofa, doorway and any nearby work area. Think about what is already on the wall.
Stop before mounting. Check permission, frame weight, wall material and the chosen hardware's instructions.
Three layouts to compare
A compact cluster keeps the collection together and leaves empty wall around it. A simple row gives similarly sized pieces a quiet rhythm. One larger piece may be enough when a small room already has lots of visible objects. These are styling choices, not rules about the number of frames a room should have.
Do not treat removable strips as permission
A product described as removable can still be unsuitable for your paint, wall finish, frame, weight or lease. Read the exact product instructions, including surfaces, load limits, preparation and removal. Do not combine products to invent a higher load rating. If you cannot identify the wall or a safe fixing method, ask the landlord or a qualified installer.
Avoid placing heavy or breakable frames where a failure could injure someone. Keep vents, switches, access panels and exits usable. This guide does not specify wall fixings, structural loads or child-safety measures.
A useful stopping point
Live with a photograph of the floor arrangement for a day. If you still like it, have permission and can follow a suitable mounting method, proceed carefully. If not, edit the collection or choose a different display location. You do not need to fill every wall.
Browse more small-home planning guides or read about the Rental Bedroom Reset digital guide. The PDF is a styling and planning aid, not architectural or installation advice.
Reading behind this guide
Topic inspiration: Apartment Therapy's October 2026 micro-studio tour and its small-living-room ideas. The writing and illustration here are original. No source photographs or layout instructions were copied.
Source reading: https://www.apartmenttherapy.com/176-square-foot-california-studio-apartment-37694004
https://www.apartmenttherapy.com/small-living-room-home-design-ideas-254768
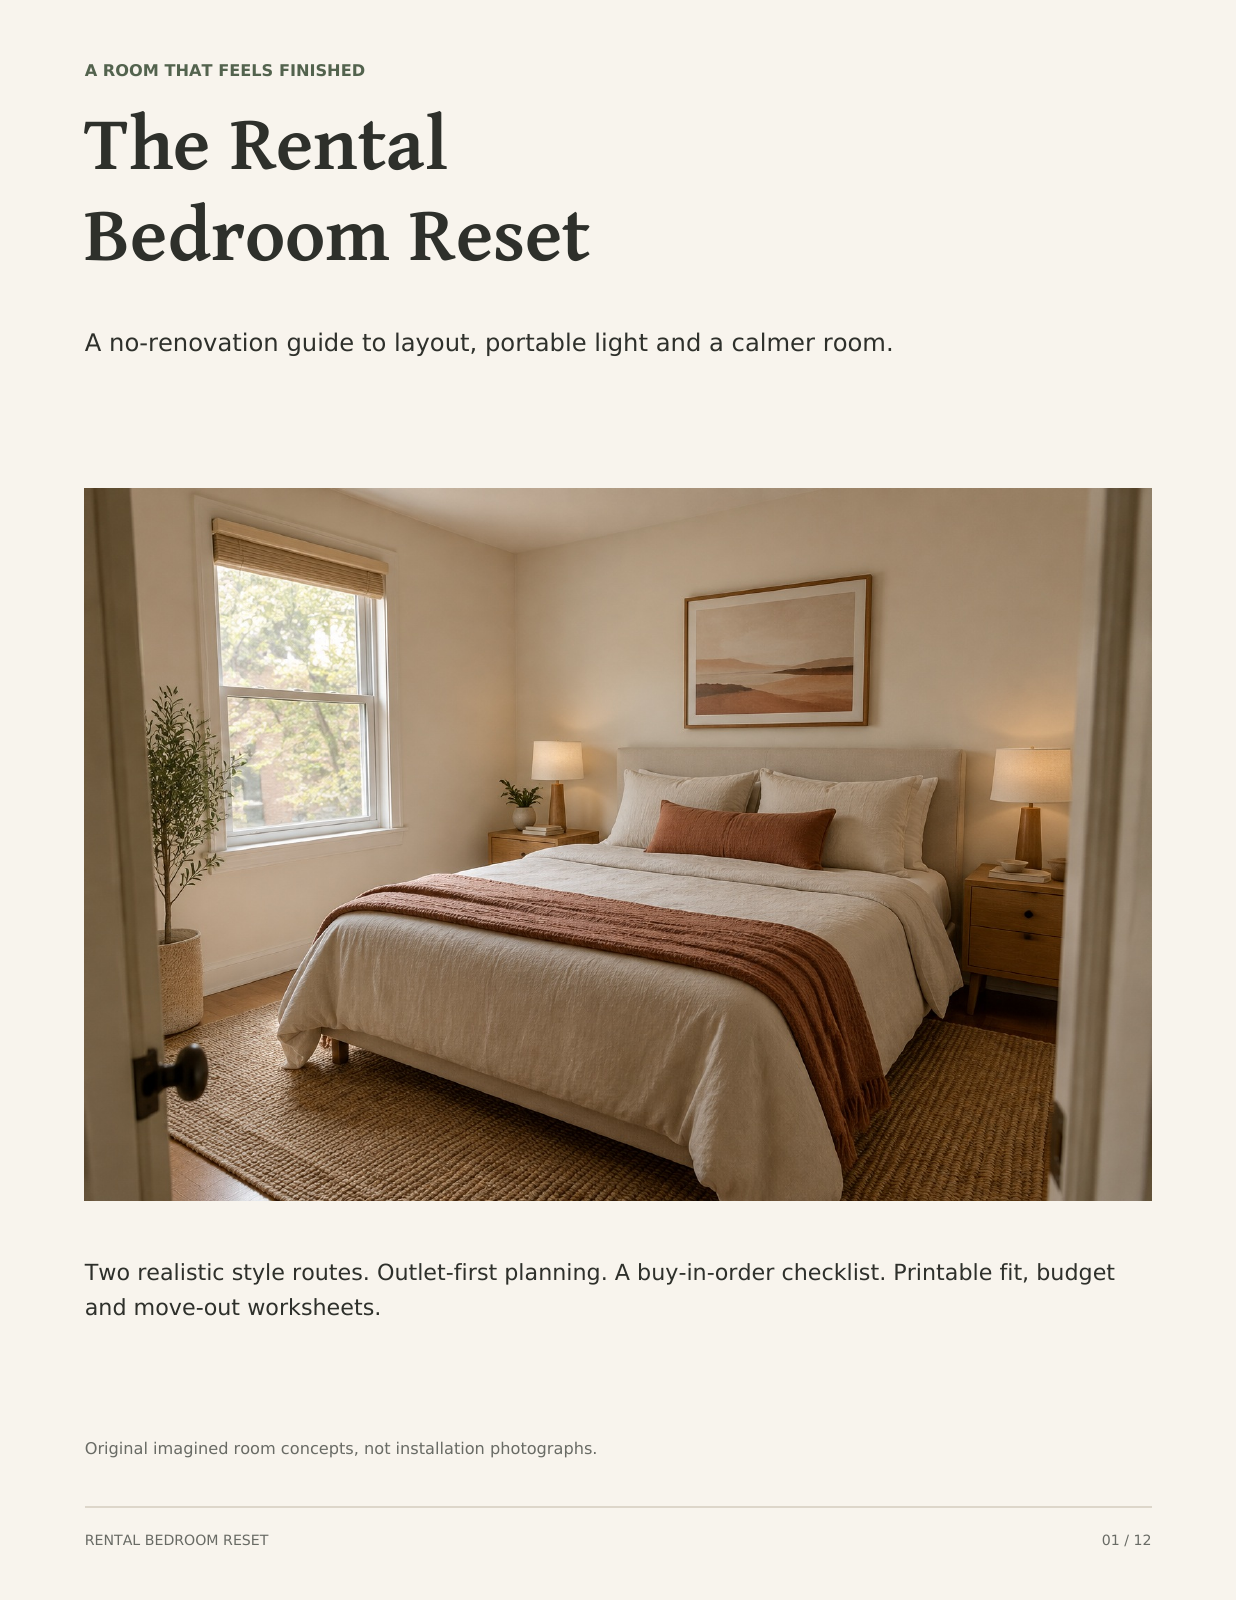
Original AI-generated illustration. A room concept, not mounting instructions.

Comments

Popular posts from this blog

How to clean streaky glass safely: a gentle step-by-step routine

Glass-front storage looks cluttered? Plan the display before buying a cabinet

Kitchen windows wet after cooking? Check ventilation before replacing glass